
If you have ever been gifted a bouquet of herbs or stood in the garden with your bounty and it's more than you know what to do with, this post is for you. Garden herbal salts are one of the simplest and most satisfying ways to preserve a big herb harvest, and the result is something you will reach for every single day. All you need is fresh herbs, coarse salt, and a food processor.
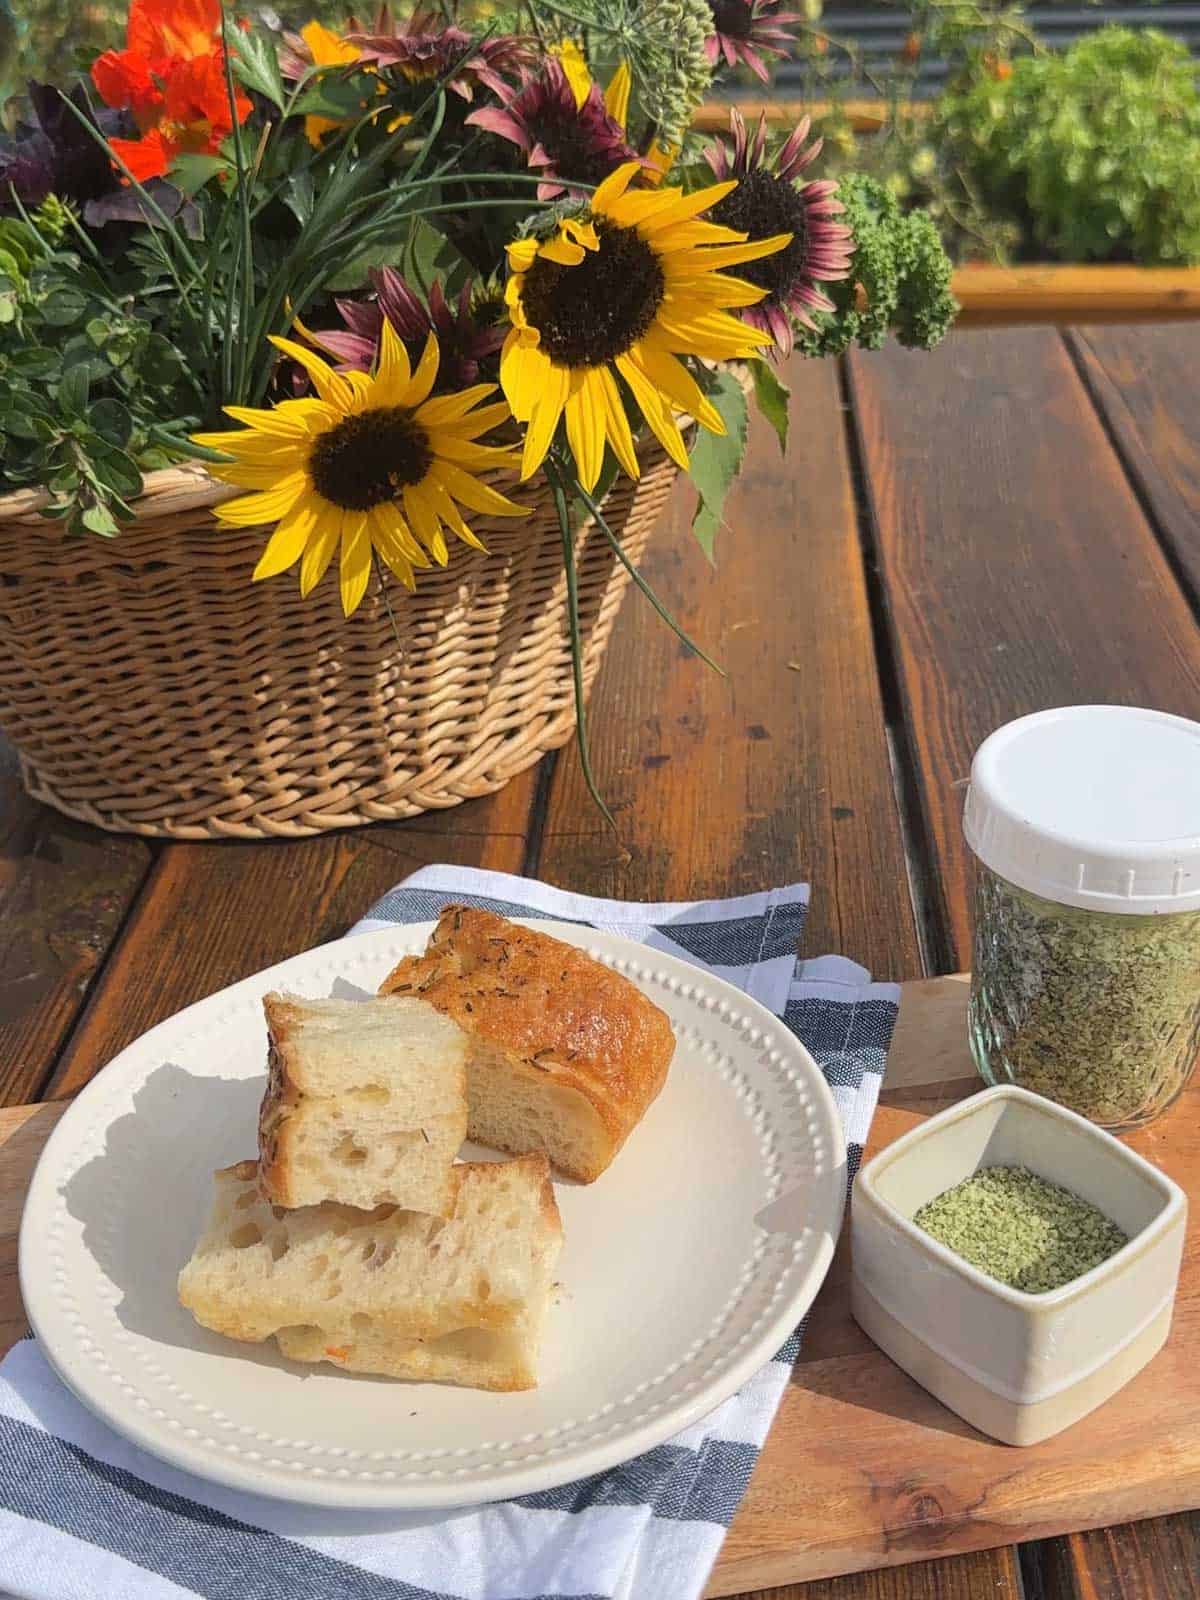
When my friends come over, my favorite thing to do is take them straight to the garden and start offering things up. The fresh herbs are usually in abundance. I have found that many people don't know what to do with them, which is actually tragic because they are one of the best gifts from the garden. Let's start with herbal salts. This recipe is super approachable, and you will use the salts often. Once you get started, you will be looking for other ways to use up those herbs; my infused herbal oils should be next on your list.
Herbs are a great introduction to the garden, and even a tiny garden or patio can have pots of thriving herbs. Many herbs are perennials, meaning they come back every year. Basil, tarragon, and rosemary are just a few of the varieties you can grow.
Why You'll Love These Recipes
- A genius way to use up a big herb harvest before it goes to waste
- Four variations, so you can try one or make them all at once
- No cooking required, just a food processor and a little drying time
- Each one has its own color and flavor, and they are all stunning
- Beautiful enough to gift and practical enough to use every single day
- Lasts for months when stored properly
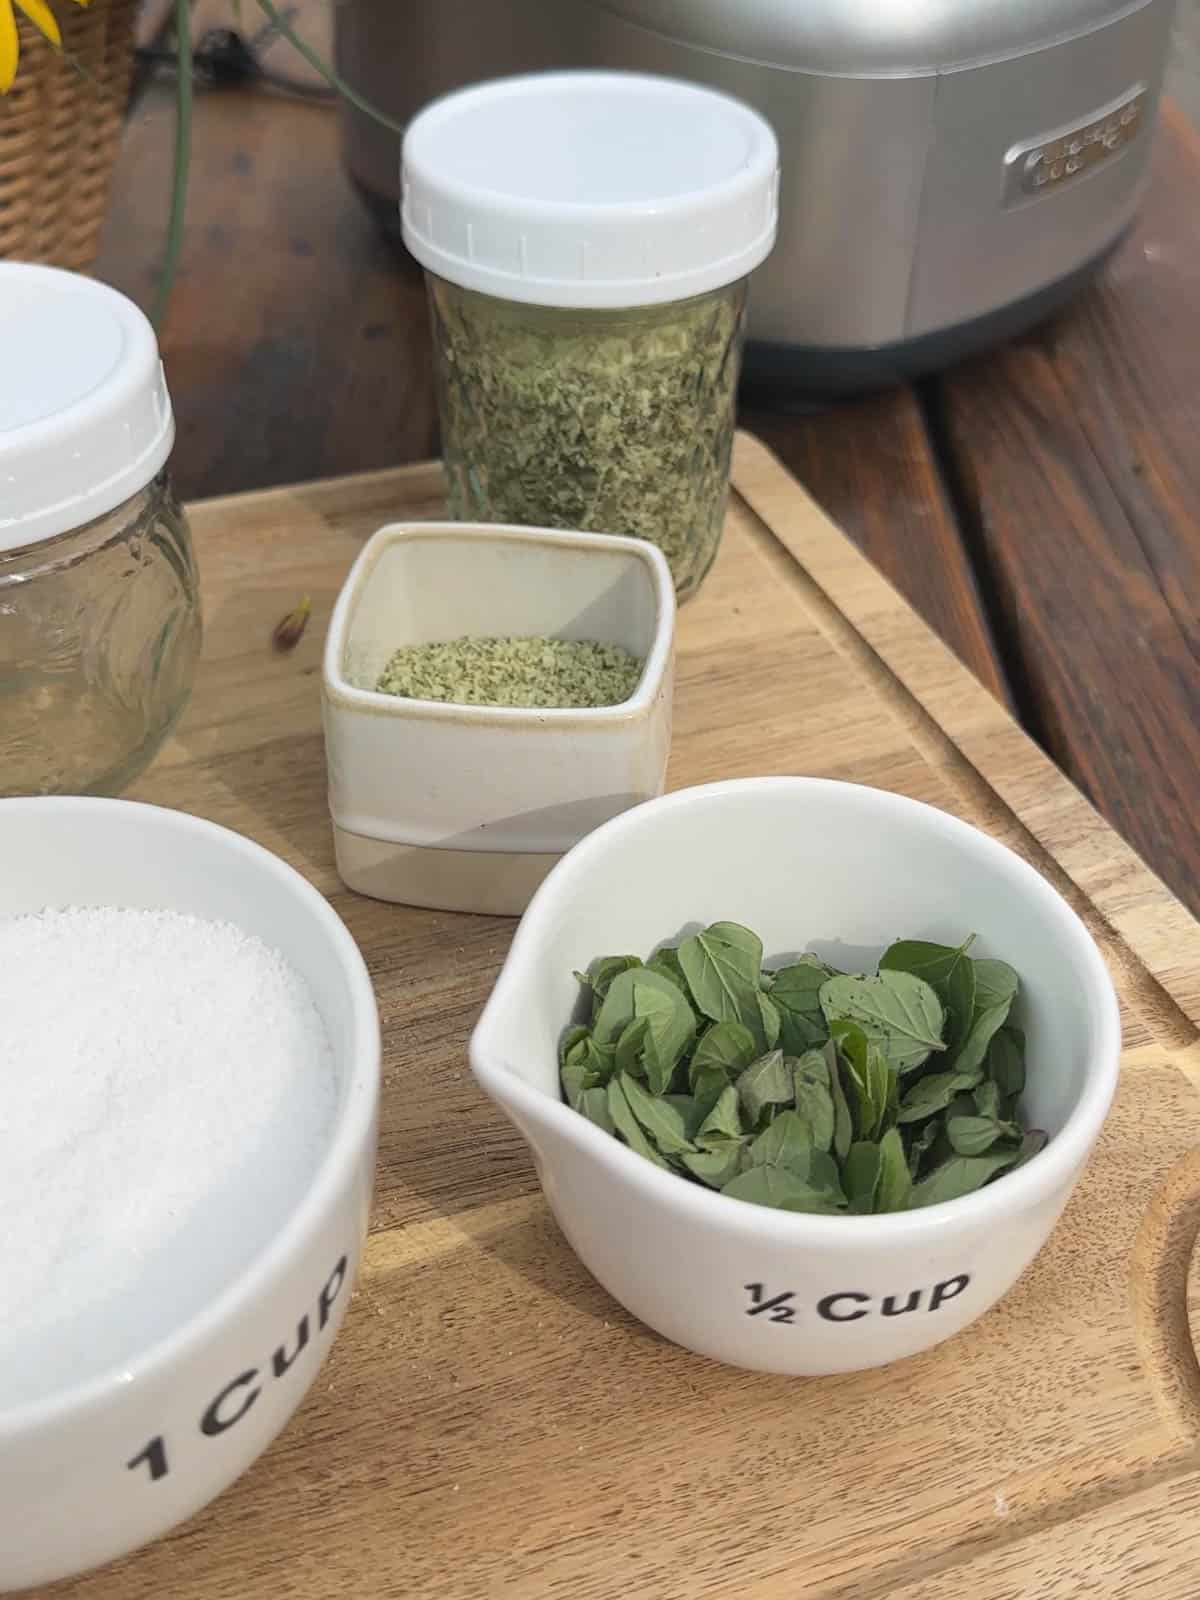
About Each Variation
Oregano Salt
Fresh oregano is the one that started it all for me, and the more fragrant your leaves, the better your salt will be. Pick your oregano before it flowers if you can; that is when the essential oils are most concentrated, and the flavor is at its peak. Coarse sea salt or kosher salt both work. You want that coarser grain for the best texture for herbal salts.
Ingredients
- ½ cup packed fresh oregano leaves
- 1 cup coarse sea salt or kosher salt
Instructions
- Wash and dry the oregano leaves. Add the leaves and coarse salt to a food processor. Pulse until fully combined.
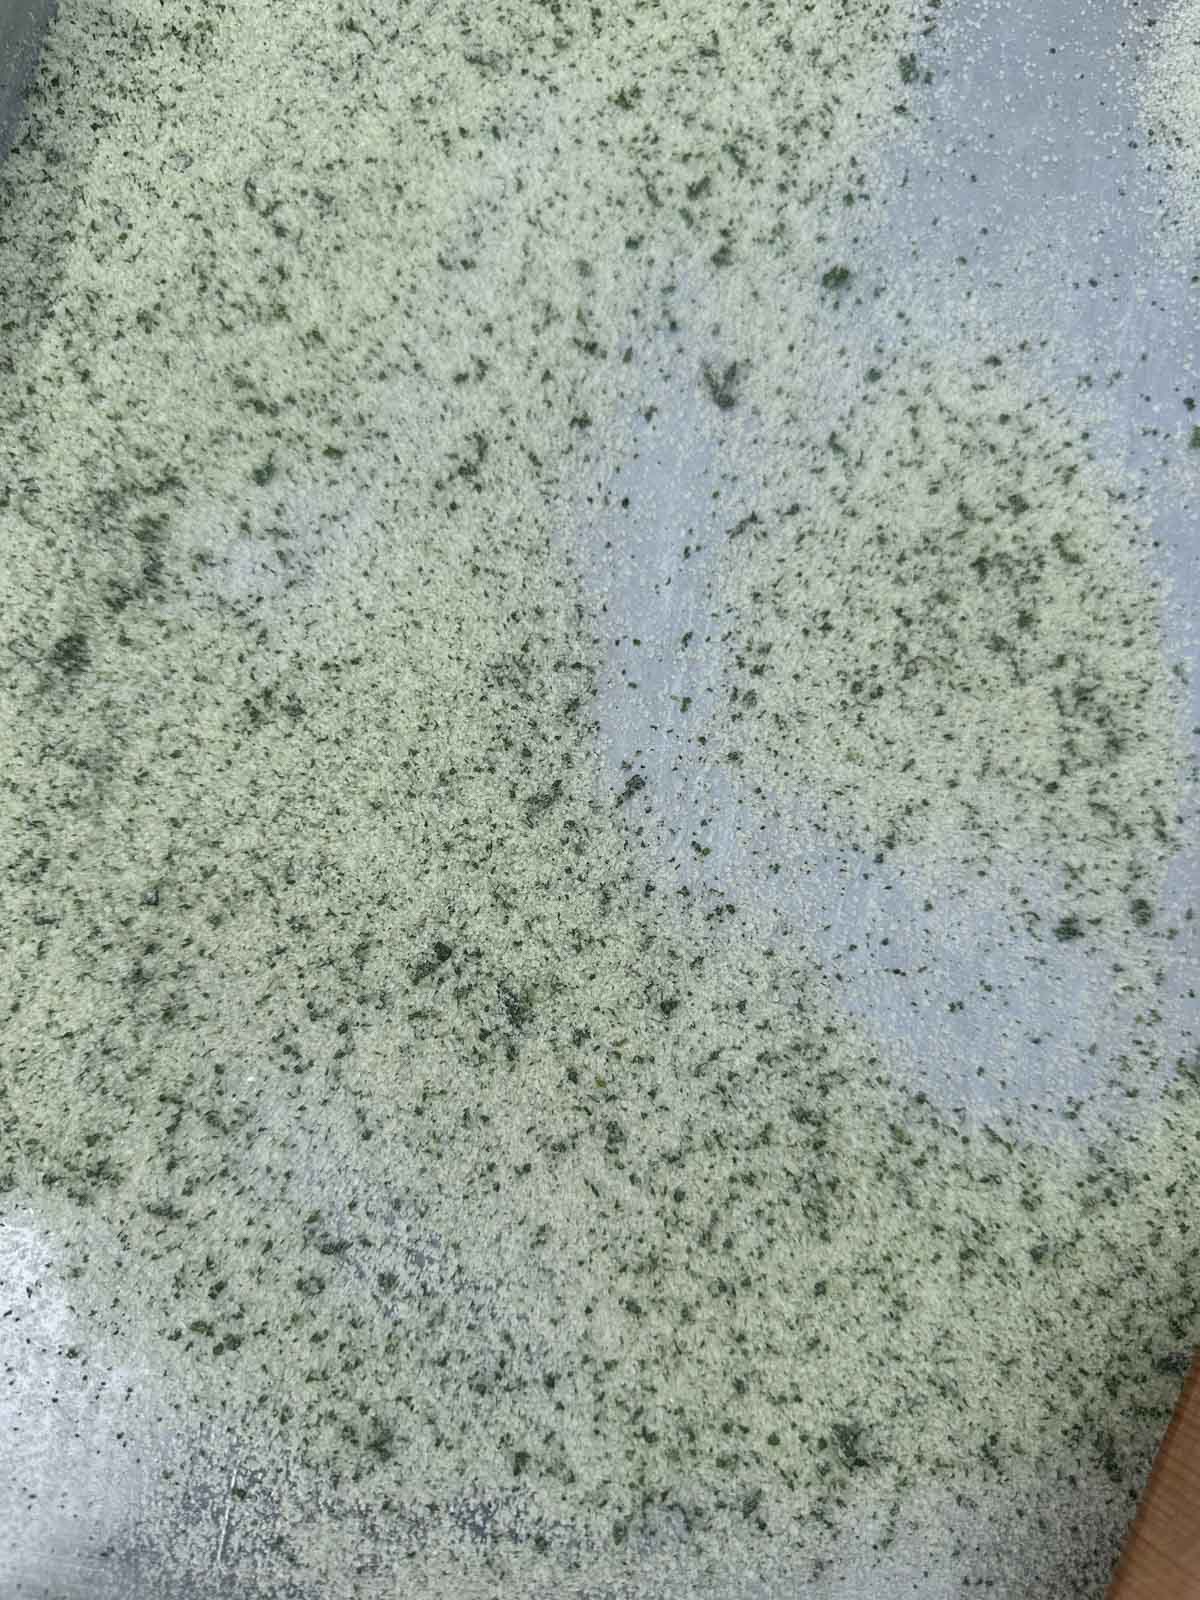
- Spread the mixture in an even layer on a rimmed baking sheet. Let it stand at room temperature, stirring occasionally and breaking up clumps with a fork, until completely dry.
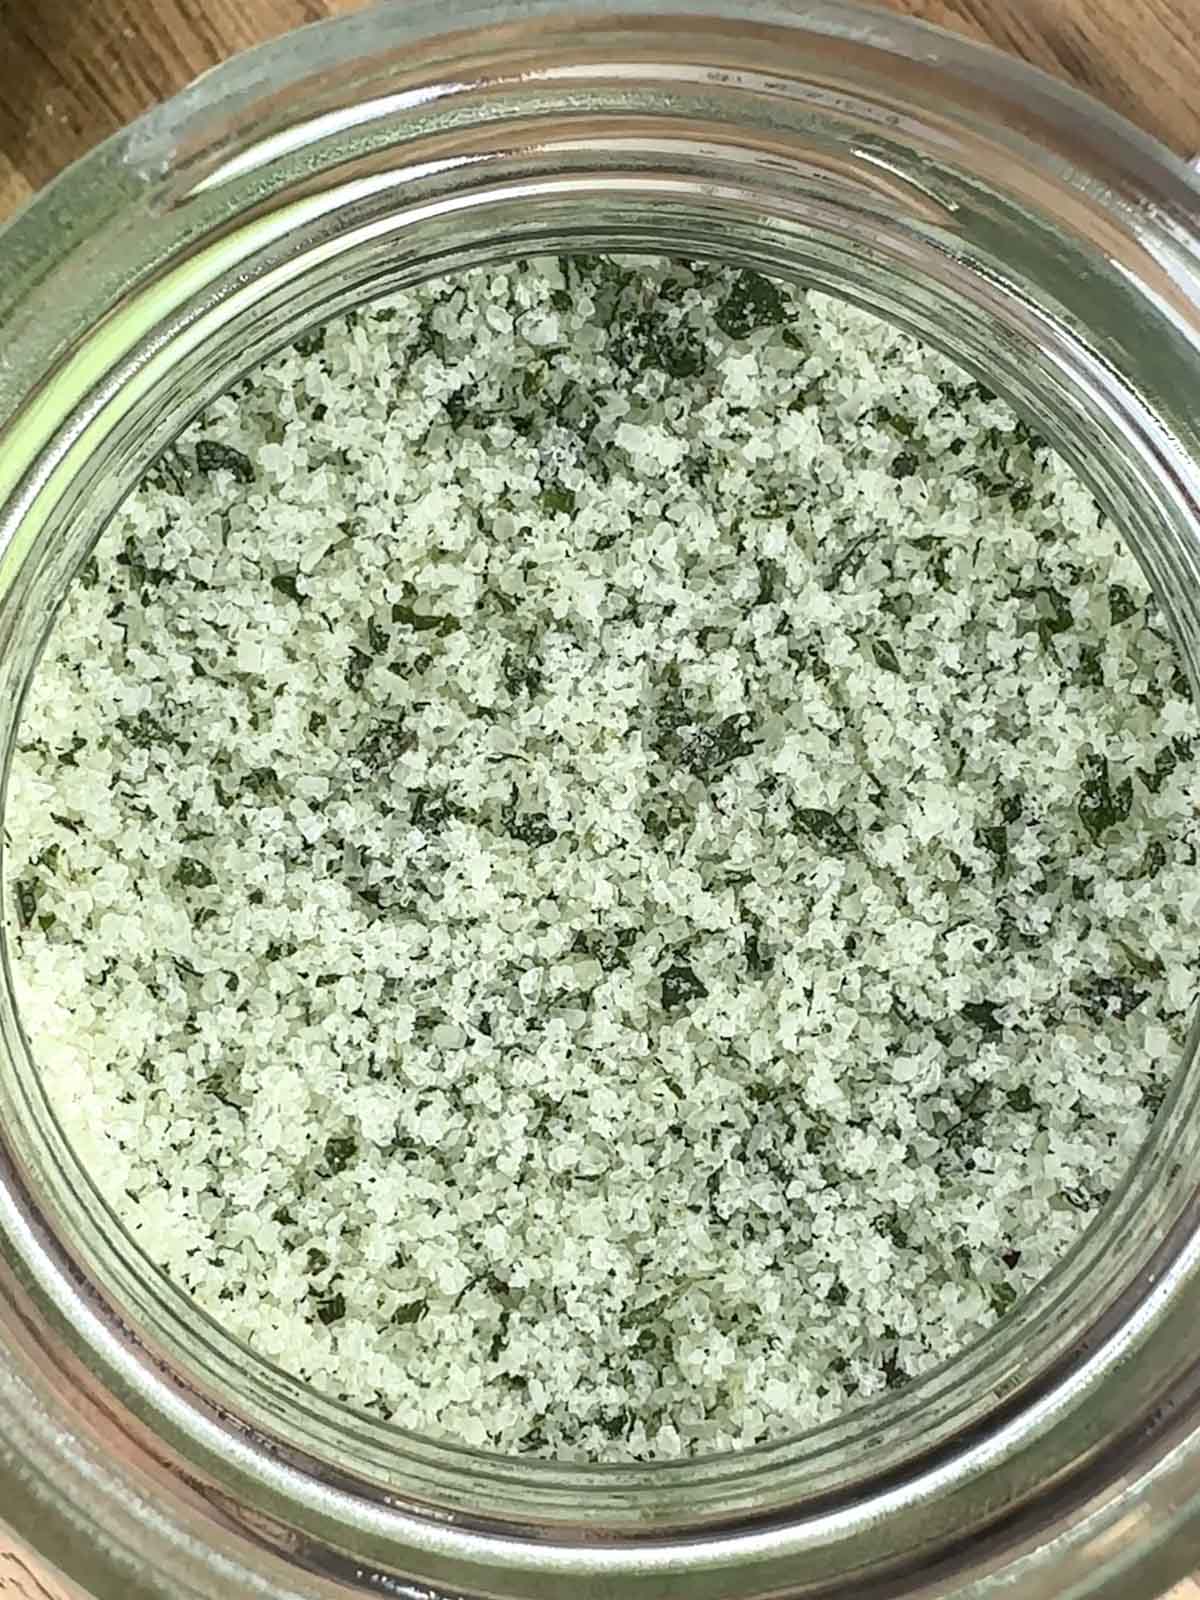
- Once dry and flowing freely, funnel it into a jar with a tight-fitting lid.
Purple Basil Salt
The color it turns after processing is completely unreal, a soft, dusty lavender that looks too pretty to use. The flavor has that classic basil punch. Use it anywhere you would reach for fresh basil, and then some.
Ingredients
- ½ cup packed fresh purple basil leaves
- 1 cup coarse sea salt or kosher salt
Instructions
- Wash and dry the basil leaves. Add the leaves and coarse salt to a food processor. Pulse until fully combined.
- Spread the mixture in an even layer on a rimmed baking sheet. Let it stand at room temperature, stirring occasionally and breaking up clumps with a fork, until completely dry.
- Once dry and flowing freely, funnel it into a jar with a tight-fitting lid.
Tarragon Salt
Tarragon has a bold anise, almost licorice-like flavor, so this one uses less than the basil or oregano variations. A little goes a long way here, and a lighter hand keeps the flavor interesting instead of overwhelming.
Ingredients
- ¼ cup packed fresh tarragon leaves
- 1 cup coarse sea salt or kosher salt
Instructions
- Wash and dry the tarragon leaves. Add the leaves and coarse salt to a food processor. Pulse until fully combined. Because tarragon is used in a smaller amount, keep an eye on it so it doesn't over-process before the salt is evenly distributed.
- Spread the mixture in an even layer on a rimmed baking sheet. Let it stand at room temperature, stirring occasionally and breaking up clumps with a fork, until completely dry.
- Once dry and flowing freely, funnel it into a jar with a tight-fitting lid.
Pansy Rosemary Salt
The pansy petals bring the softest wash of color along with a delicate floral note, and the rosemary underneath keeps it grounded with a piney, woodsy depth. My blueberry slab pie is decorated with pansy flowers too, so if you are growing them this season, you will have plenty of ways to use them.
Note: pansy petals are much lighter than other herbs by volume, so this variation uses more petals than the standard ratio in the recipes above. Start with this amount and adjust based on how your batch dries.
Ingredients
- 1 cup edible pansy petals, home-grown and free of pesticides
- ¼ cup fresh rosemary leaves
- 1 cup coarse sea salt or kosher salt
Instructions
- Wash and dry the pansy petals and rosemary leaves. Add them, along with the coarse salt, to a food processor. Pulse until fully combined.
- Spread the mixture in an even layer on a rimmed baking sheet. Let it stand at room temperature, stirring occasionally and breaking up clumps with a fork, until completely dry.
- Once dry and flowing freely, funnel it into a jar with a tight-fitting lid.
A note on sourcing pansies: only use pansies you know to be food-safe, either grown yourself without pesticides or purchased specifically as edible flowers. Pansies from a nursery or garden center are often treated for ornamental use and are not meant to be eaten.
How to Make Garden Herbal Salts
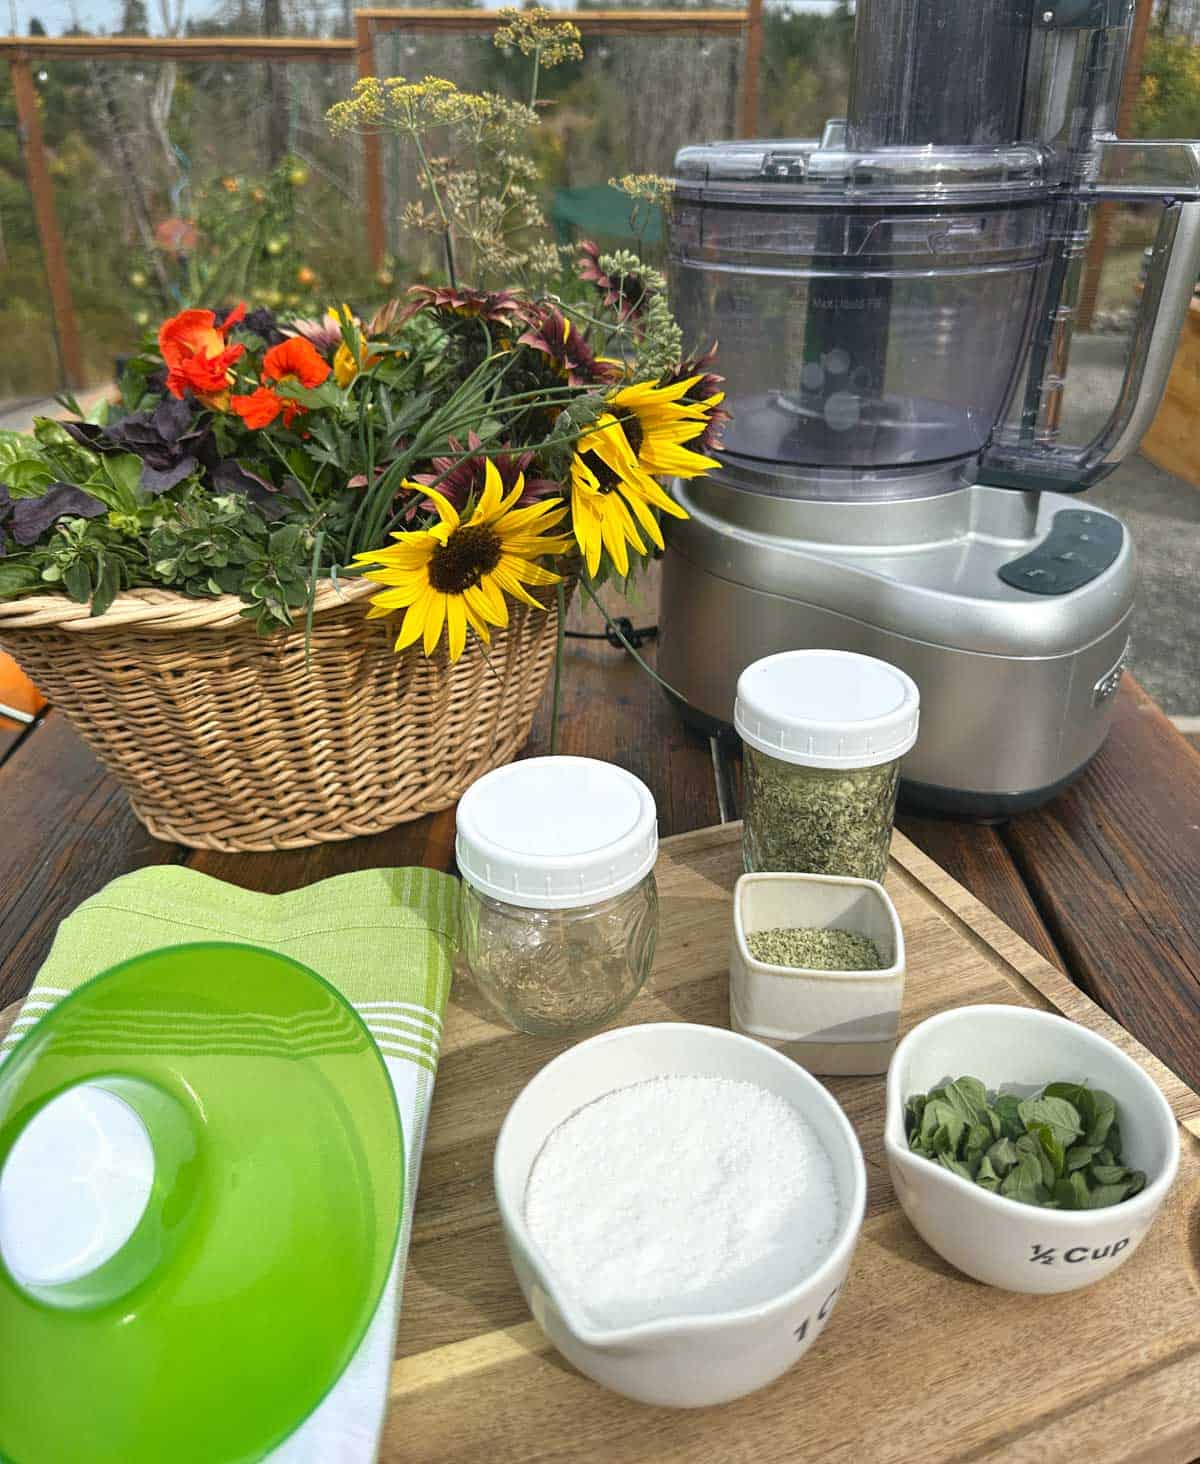
Step 1: Process the herbs and salt. Wash and dry the herbs (or petals). Add your fresh herbs and coarse salt to a food processor. Pulse until everything is fully combined and the herbs have broken down into the salt.
Step 2: Dry the mixture. Spread the herb and salt mixture in an even layer on a rimmed baking sheet. Let it stand at room temperature, stirring occasionally and breaking up any clumps with a fork, until it is completely dry. Depending on how moist your herbs were and how humid your kitchen is, this can take a few hours up to overnight. Do not rush this step. The salt needs to be fully dry before it goes into a jar.
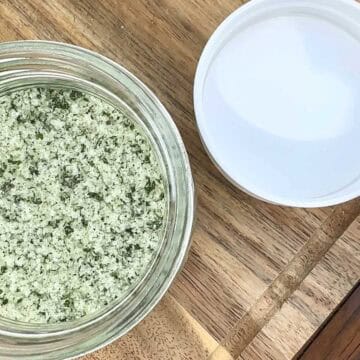
Step 3: Pack into jars. Once the salt is completely dry and flows freely, funnel it into a jar with a tight-fitting lid. That is it, you just made herbal salt.
What I Learned
The first thing that surprised me was how easily everything came together. I expected it to take longer, but using the food processor, within a minute the herbs and salt were fully combined and smelling incredible. Do not over-process it. Once it looks evenly mixed, stop.
The drying time is where patience comes in. My first batch I dried overnight. I kept checking it, stirring it, and breaking up the clumps, and eventually it got there.
The color was something I was completely unprepared for. So beautiful.
If you love finding creative ways to use what is growing in the garden right now, my spring chive pesto is another recipe that uses a big harvest beautifully and freezes well, so nothing goes to waste.
How to Use Your Herbal Salts
Oregano Salt is wonderful over grilled meats, roasted potatoes, flatbread, and anything with a Mediterranean lean. Stir it into good olive oil and use it as a dipping salt for bread. It also does something really special to a fried egg.
Purple Basil Salt was made for summer tomatoes. Slice a ripe one, drizzle with olive oil, finish with a pinch of this salt, and that is your whole meal. It is also stunning over burrata or fresh mozzarella with a little balsamic.
Tarragon Salt works beautifully in a classic French direction: egg dishes, chicken, a simple vinaigrette, or stirred into softened butter for fish.
Pansy Rosemary Salt is the one to reach for when a dish needs a finishing touch that looks as good as it tastes: deviled eggs, a cheese board, or scattered over roasted vegetables right before serving.
Tips and other Variations
Wash and pat your herbs dry first. If your herbs came straight from the garden, rinse them and give them a gentle pat with a clean towel, or let them rest for 20 to 30 minutes before processing. Extra moisture means a longer drying time on the baking sheet.
Stir as it dries. The mixture can form a solid sheet on the baking sheet as it dries. Come back 2-3 hours and stir it, breaking up any clumps with a fork so everything dries evenly all the way through.
Use it as a finishing salt. These herbal salts are meant to go on at the very end, not into a pot of boiling water. Sprinkle over roasted vegetables, eggs, grilled fish, or fresh tomatoes right before serving. My roasted garden tomatoes with a pinch of oregano salt on top are something I have been making all season.
Make a gift set. Pack each variation into its own small jar, tie on a simple label, and you have one of the most thoughtful homemade gifts around. I am already planning to pair these with good olive oil for holiday gifts this year.
Scale up freely. For the oregano, basil, and tarragon variations, the ratio is roughly one part herb to two parts salt by volume. Double or triple any of these if you have a big harvest to work through. The Pansy Rosemary variation is the exception, see the note in that section.
Don't be shy about experimenting. Once you understand the basic process, the combinations are endless: thyme salt, lemon verbena salt, dill salt.
Looking for more ways to use what is coming out of the garden right now? Browse all the basics recipes for simple, seasonal ideas that make the most of fresh ingredients.
Storage
Store your finished herbal salts in jars with tight-fitting lids at room temperature. Keep them away from heat and humidity, so not right next to the stove or in a cabinet above the dishwasher. Stored well, they will stay flavorful for up to six months. The color and fragrance are most vibrant in the first couple of months, so use them freely and enjoy them at their best. If the salt clumps in the jar, just break it up with a fork or a toothpick before using.
FAQ
A food processor gives you the most even blend and is what I used for all four of these. A mortar and pestle works too if you do not have one, you will just need a little more effort to work everything together evenly.
Stick with coarse salt for this. Fine salt can turn dense and almost cakey once it is dried and packed into a jar. The coarser grain holds up much better and gives you a nicer texture when you use it as a finishing salt.
Pinch a small amount between your fingers. If it sticks together or feels damp at all, it needs more time. When it is ready, it will flow freely and feel dry to the touch, just like regular salt from a shaker.
How long does herbal salt last? Up to six months, stored in a cool, dry spot away from heat and moisture. The flavor and color are best in the first two months, so do not save it only for special occasions. Use it freely and enjoy it while it is at its most vibrant.
More Recipes You'll Love
Herbal Salts
Equipment
- 1 Food Processor
Ingredients
- ½ cup Herbs of your choice (oregano, rosemary, basil)
- 1 cup Sea Salt Course, Maldon (preferred)
Instructions
- Wash and dry the oregano leaves. Add the leaves and coarse salt to a food processor. Pulse until fully combined.
- Spread the mixture in an even layer on a rimmed baking sheet. Let it stand at room temperature, stirring occasionally and breaking up clumps with a fork, until completely dry.
- Once dry and flowing freely, funnel it into a jar with a tight-fitting lid.


